Weddings are expensive. Unless you are willing (and able) to spend a small fortune, it can be super intimidating to plan. We initially decided on an intimate, $2500, backyard wedding in February 2022. When we started doing the calculations, it ended up looking more like a $22500 wedding. That wasn’t going to work.
We scrapped our plans completely and settled for a $7500 “destination” wedding. We took a little over three months to plan everything and ended up within a few hundred dollars of our target budget.
Here are some of the ways we saved money:
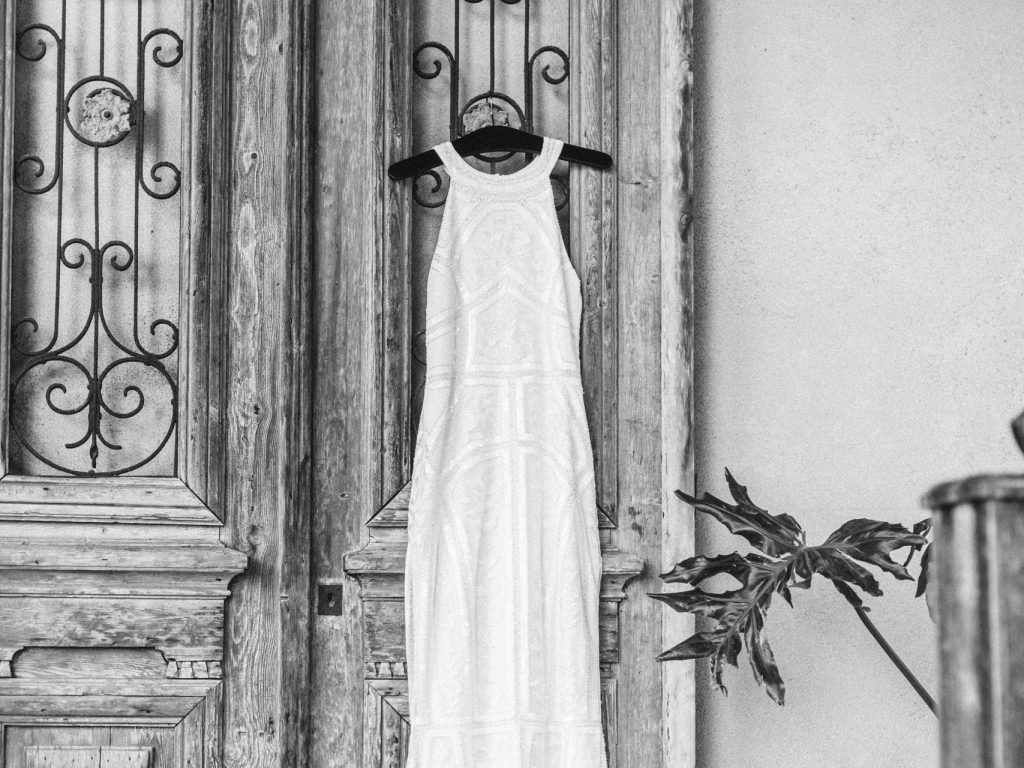
Wedding and Reception Dresses ($315 including alterations) – I started my dress hunt at a local bridal shop after falling in love with a dress they had online. I mean, who doesn’t want the whole “say yes to the dress” experience? I was sold on the idea of going to a boutique first.
My best friend and grandma came with me, and it was really fun. My attendant was super friendly, stayed fairly close to my budget, and brought me a ton of beautiful dresses to choose from.
We also went to David’s Bridal to look at some lower-cost options and had an equally awesome helper. It definitely was not as glamorous of an experience, but there were still many beautiful dress choices.
Unfortunately, I didn’t find anything I loved at either place and still didn’t feel comfortable spending that $1200+ on a one-time wear dress, so I was back to square one.
At that point, I remembered saving a photo of a dress I liked on Instagram. It turned out to be from Lulus and less than $300!
I skimmed all of the white, long dresses in their inventory and settled on four that were between $80-$120. Since Lulus offers free returns, I ordered them all to try on at home. When I tried on my dress, I immediately knew it was the one. Of course, it had been a last-minute impulse buy, and I’m happy I purchased it!
My reception dress was the BerryGo maxi in peach from Amazon. It is super cute, comfortable, and 100% cotton. I will definitely be wearing it again in the future.
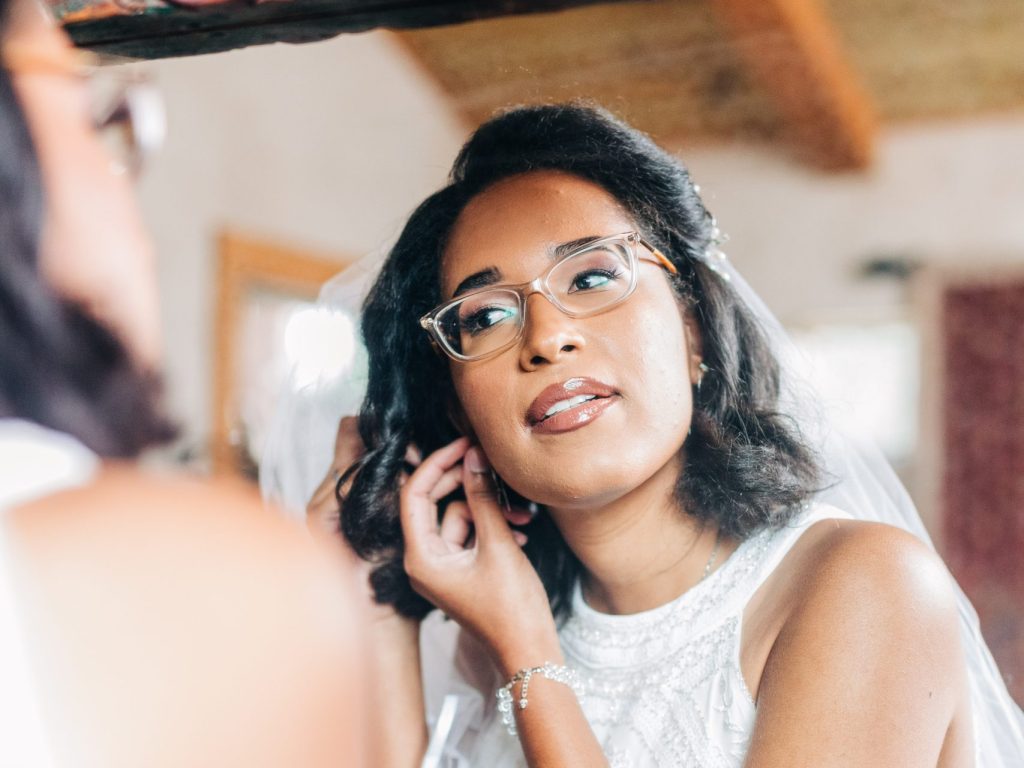
Bridal Accessories ($45) – The only accessories we purchased were my earrings. They were sterling silver Morse code threaders from Etsy. They’re unique and meaningful and are simple enough to continue wearing after the wedding. Jacob also made them more special by making me wait until the wedding day to find out what they said!
I either already owned or borrowed the rest of my accessories. My hair pins were a loan from my maid of honor, my veil was a bridal shower decoration, and my low heels were shoes I previously purchased for interviews.
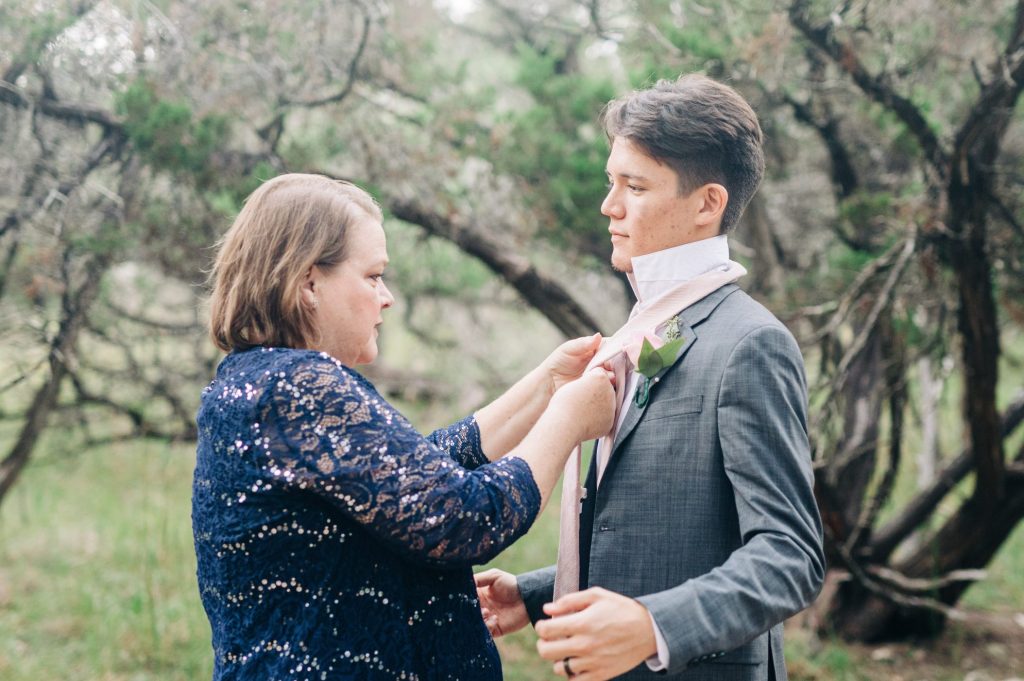
Groom Accessories ($30) – With the exception of his boutonniere, Jacob’s only wedding day expense was his tie from Dazi. We initially wanted to go with something bold, but decided a neutral suit and mauve tie would look more classy. Jacob wore one of the suits he had previously purchased for medical school interviews.
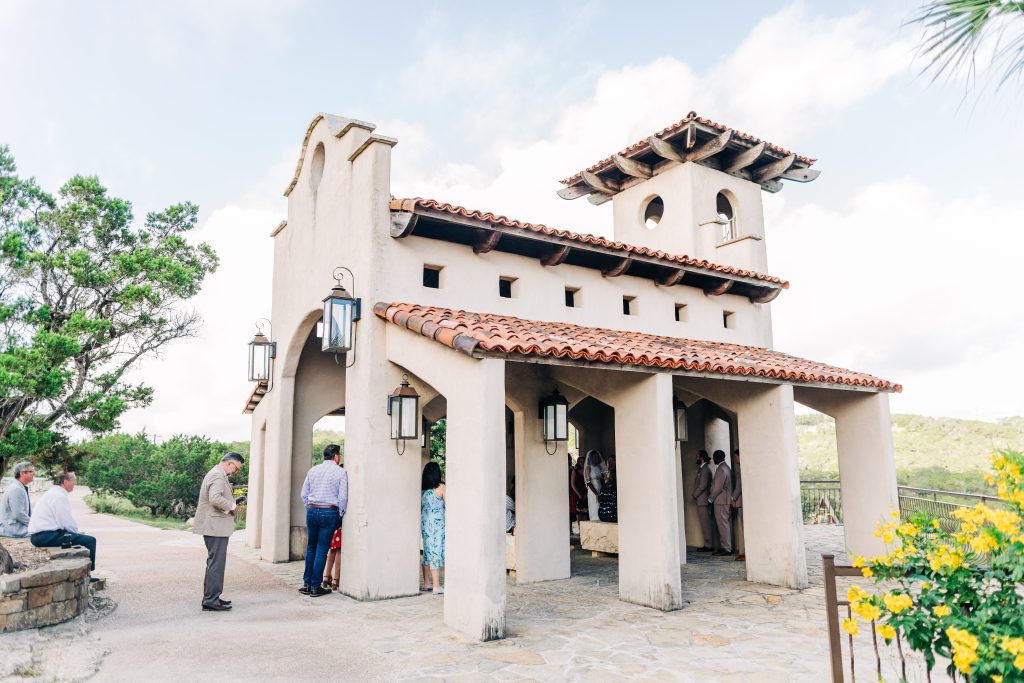
Venue ($0) – Our biggest saving was our free venue. The Chapel Dulcinea allows couples to reserve one and a half hour time blocks for no charge. They require an initial deposit to secure a date and time to discourage no-shows. This deposit is fully refundable via check within a few days of the ceremony, as long as you check in with the visitor center when you arrive for your wedding.
Florals ($140 including DIY supplies) – Jacob was in charge of the bridal bouquet and boutonniere, and due to a miscommunication with the store, we ended up having three days to have a custom arrangement made. Since it normally took several weeks’ notice, we asked the florist at the local grocery store if she could throw something together from what was currently in stock.
We picked a few flowers with the florist for color inspiration, and she handled the rest. We had no idea what it was going to look like until we picked it up! She did an amazing job, though, and the bouquet looked beautiful.
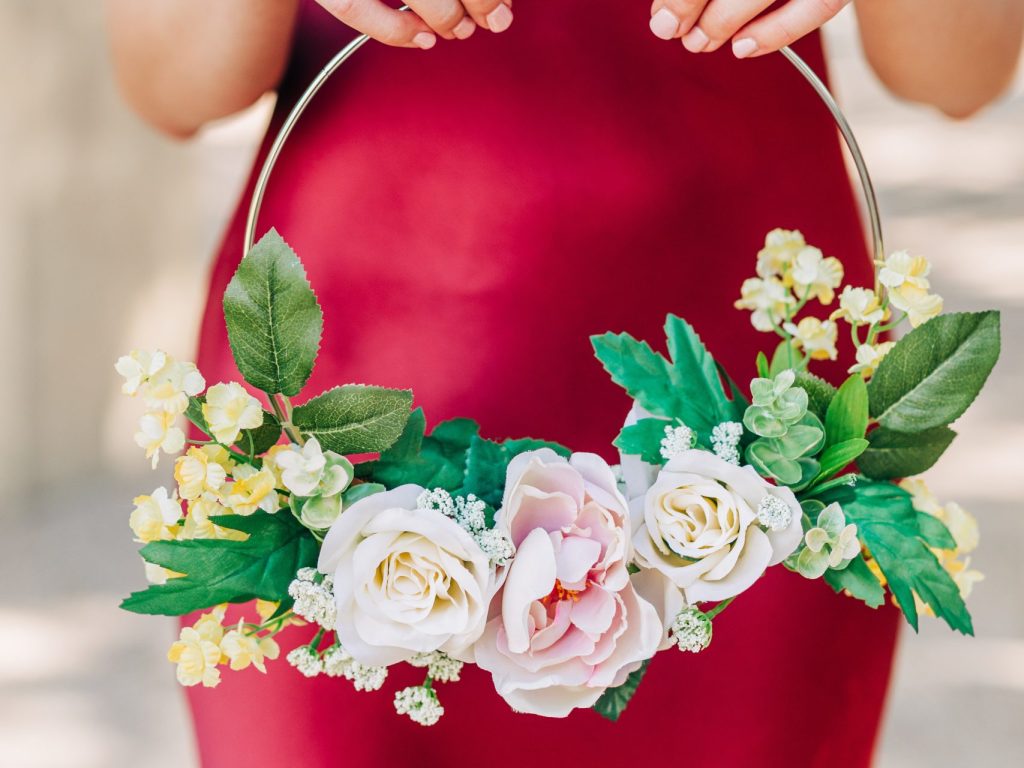
I initially had no idea what to do for bridesmaids’ bouquets. I wanted to do something unique that my girls would be able/want to keep, but, we were getting married in late August in central Texas, and I figured live flowers wouldn’t keep. I eventually found some floral hoop arrangements online and thought they were pretty and seemed relatively easy to DIY.
Jacob and I picked up several flower bunches that complemented the bridesmaids’ dresses and some steel rings from Hobby Lobby. My girls ended up having a fun time putting their arrangements together and bonding during the bridal shower! Each floral ring came out different and beautiful, and brought some variety to the ceremony.
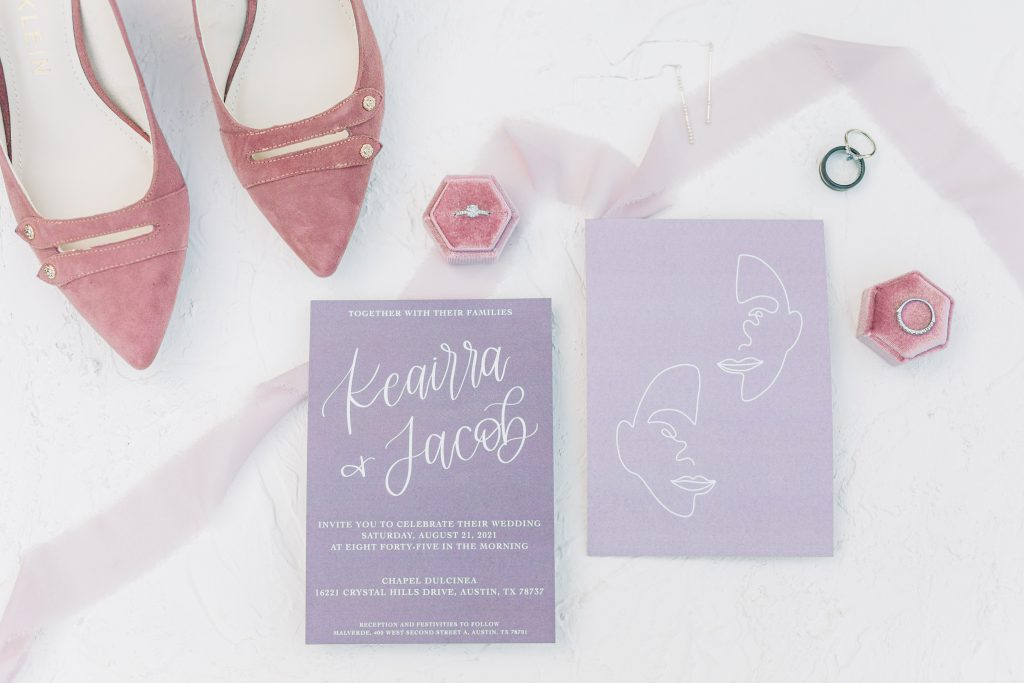
Invitations ($100 including calligraphy + edits for three versions, envelopes, evites, and printing) – I looked at invitation designs on Minted and Shutterfly, but because we were having a hybrid wedding, we needed multiple versions of the invites. Purchasing a handful of invitations with each text variation would come out to several hundred dollars and was not at all worth it.
While I assumed it would be extremely expensive, I had been considering calligraphy wedding signage for a while and figured it couldn’t hurt to ask for an invitation suite quote as well.
Surprisingly, the calligrapher we reached out to offered a very reasonable price for digital design files. She was also extremely friendly and accommodating, and was even able to include custom line portraits of us in the design! I would absolutely work with her again in a heartbeat and highly recommend checking out her work.
To keep costs down, we only sent invitations to our in-person guests and asked them to RSVP on our wedding website. We had our invites printed at a local shop and picked up colored envelopes on sale at Hobby Lobby.
We sent the remaining invites via email through Paperless Post. We used their free option since we were sending each version of the Evite to fewer than 50 people. The invitations looked great, and we were able to display both sides of the design.
Photography ($1500 for 3 hours + download and printing rights) – We had a wedding photographer picked out before we even started planning, so this was the easiest part for us! Because we were a few months away from the wedding date, our photographer gave us the option of one of her remaining dates, and we were able to choose a cheaper, less inclusive package.
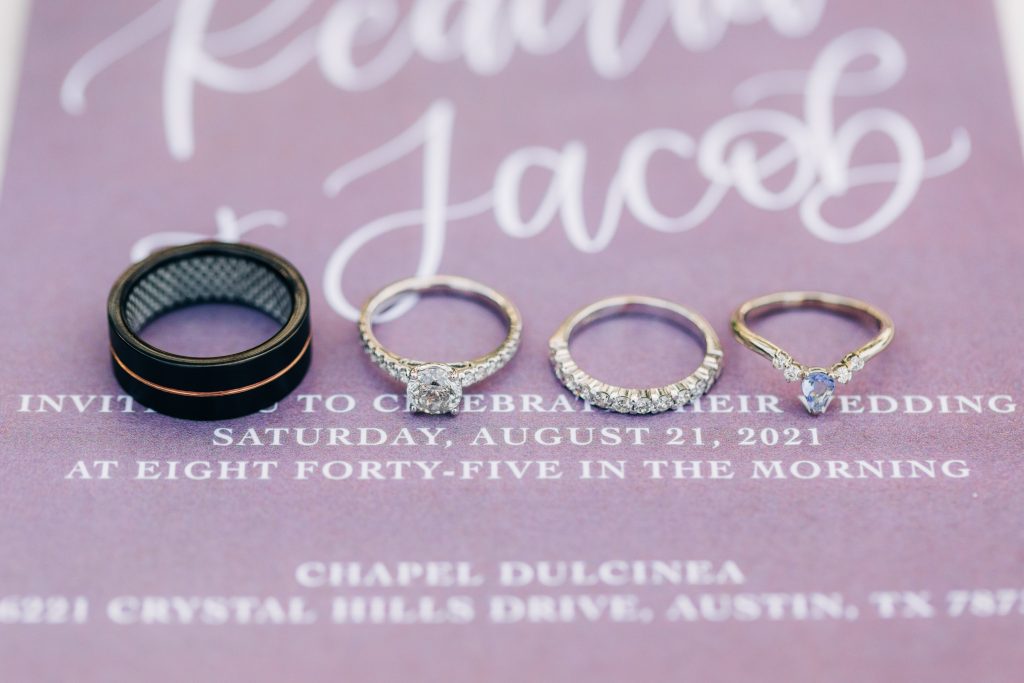
Wedding Bands ($250) – My wedding band was a hand-me-down from my mom that had a lifetime protection plan on it. This meant I was able to have the stones adjusted and the ring resized at no charge. We opted to purchase a second custom band later on to complete the ring stack look.
Jacob initially planned to use his silicone band for the ceremony, but fell in love with one he saw while we were getting mine resized. The tantalum band he chose was a discontinued style, so we got a good discount on it.
I hope some of our budget wedding tricks help you save big on your special day!
Disclaimer: This commentary is based on my personal opinion; feel free to consult any other resources you may find necessary or useful. This post contains affiliate links that we use to earn a commission at no cost to you. I only recommend products that I love and use, and all comments are my own.